
Last updated: October 3, 2026

The short answer
- eSIM wins for most trips: install one on airport WiFi before you land (mine took six minutes, timed it) — options like Jetpac from ~US$2/GB or Airalo from ~US$4.50/GB, with unlimited plans available.
- Physical SIMs cost more: expect ~$35–45 CAD for 30 GB on a prepaid flanker brand like Lucky Mobile or Chatr, plus ~$10 for the SIM card itself — and an airport kiosk usually adds a 10–20% premium.
- Network matters outside cities: if your trip leaves the cities for the Rockies, a plan on the Bell/Telus network (e.g., Lucky Mobile, Public Mobile) or an eSIM confirmed on Bell/Telus is worth every penny.
I’ll be honest: the least glamorous part of planning my first big Canada trip turned out to be the most important — figuring out how to keep my phone working without paying my home carrier $15 a day for roaming. I learned that in the customs line at Pearson, doing the math on four days of roaming and nearly crying into my boarding pass. Four days, $60, just to check Google Maps. Never again.
Here’s the thing about Canada: it has some of the most expensive mobile data in the world, but it also has a cheat code — budget flanker brands and travel eSIMs that run on the exact same towers as the big carriers. This guide covers both routes with prices checked in October 2026, which airports sell what, and which option I’d actually pick for different kinds of trips (I’ve now done the spreadsheet three times, because of course I have).
How Canada’s mobile market actually works

Three companies — Rogers, Bell, and Telus, known locally as “the Big Three” — own most of Canada’s cell towers. Their flagship monthly plans are built for residents with two-year commitments, which makes them a terrible deal for a two-week trip. Fair warning: don’t walk into a Bell or Telus store and ask for “a plan for ten days” — you’ll leave with a contract story and a headache.
The actual pro move is the flanker brands: budget sub-brands owned by the Big Three that ride the exact same towers at half the price. Rogers owns Fido and Chatr. Bell owns Virgin Plus and Lucky Mobile. Telus owns Koodo and Public Mobile. Plus Freedom Mobile (its own network, strongest in cities) and Fizz (Quebec and Ontario, runs on the Videotron/Rogers networks). A sales associate at a mall kiosk in downtown Toronto once told me — and I’ve since confirmed this on the carriers’ own pages — that Lucky Mobile and Chatr are the classic tourist picks because you can walk in, pay, and be connected in minutes, no credit check, no contract.
Physical SIM vs eSIM: which should you buy?

I am now firmly team eSIM for Canada, and here’s why. A physical prepaid SIM costs roughly $35–45 CAD for a decent data plan plus ~$10 for the SIM card itself, and then you spend part of your first afternoon finding a store, waiting in line, and fiddling with a paperclip ejector tool. An eSIM, by contrast, you buy at home on your couch, install over WiFi, and it connects the second your plane’s wheels touch down. I installed mine on YVR’s free airport WiFi while waiting for my bag — six minutes, and I timed it because I’m that person.
The one catch: your phone must be eSIM-compatible and unlocked. Most iPhones since the XS and most recent Samsung/Google Pixels support eSIM — Airalo keeps a device compatibility list you can check before you buy. If your phone only takes physical SIMs, the flanker-brand route below is your plan.
| Option | Typical cost | Phone number? | Best for |
|---|---|---|---|
| Travel eSIM (Airalo, Jetpac, Holafly, Saily) | ~US$2–8/GB or ~US$21–76 for unlimited 30 days | Usually data-only | Most tourists — cheapest and instant |
| Physical prepaid (Lucky, Chatr, Public) | ~$35–45 CAD for ~30 GB + ~$10 SIM | Yes, Canadian number | Older phones; trips needing a real number |
Do not skip the fine print on “unlimited”: eSIM unlimited plans typically give you a generous daily high-speed allowance (often several GB) before slowing down. For maps, messaging, and photos, that’s more than enough — I used roughly 1.5 GB a day on a busy sightseeing week, and I’m not shy about uploading photos.
Where to buy a SIM card at Toronto Pearson (YYZ) and Vancouver (YVR)
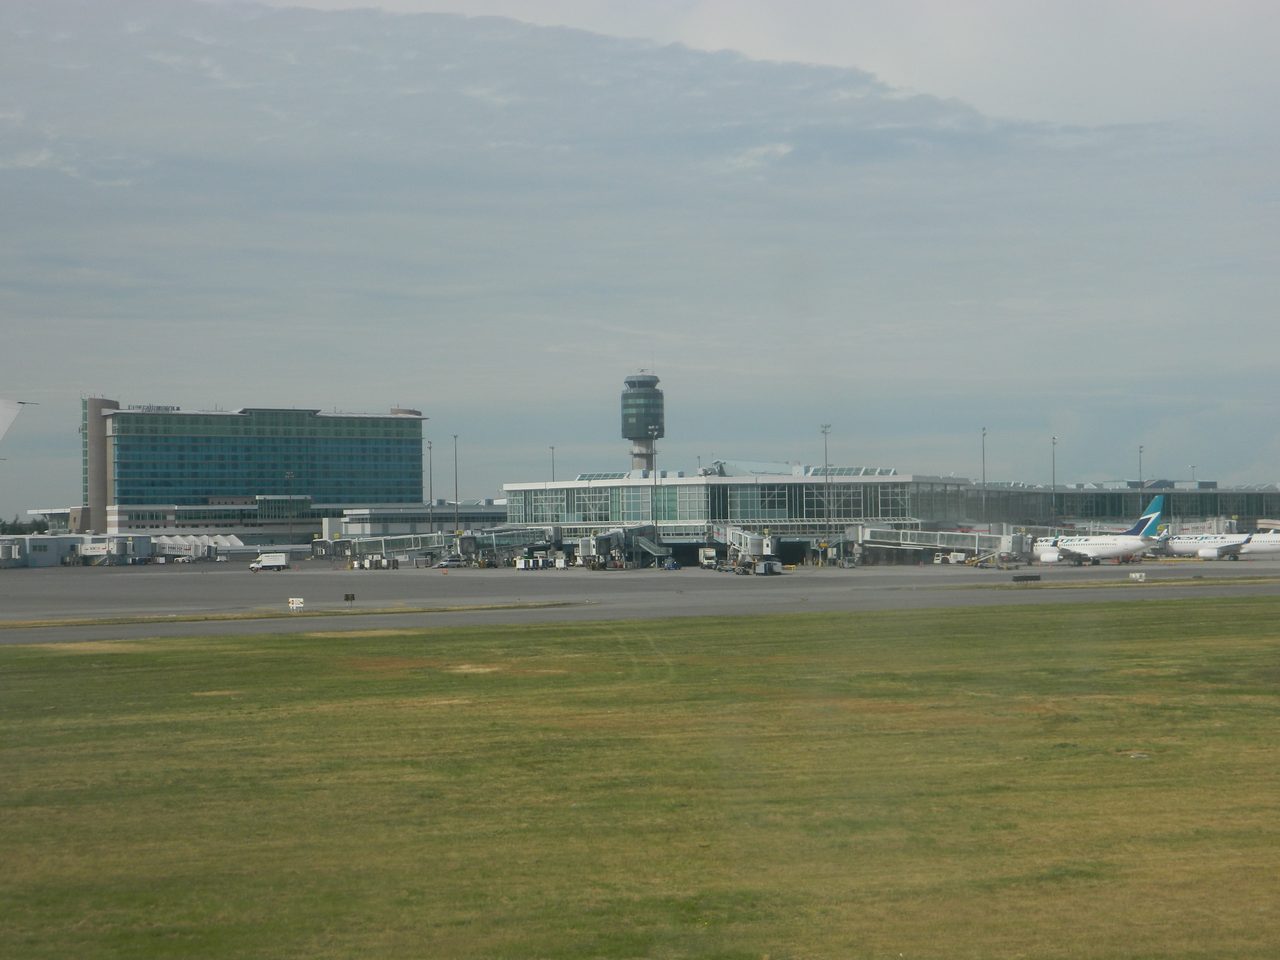
You can buy a physical SIM the moment you land — both airports have carrier kiosks and electronics stores in the arrivals area — but fair warning, you’ll usually pay a 10–20% premium over downtown prices, and the selection skews toward the most expensive plans. If you do buy at the airport, here’s my playbook:
- Ask for the cheapest prepaid tier, not the “tourist plan.” The tourist-branded plans at airport kiosks are almost always a worse deal than the standard prepaid ladder on the carrier’s website. I once watched a clerk ring up a $60 “visitor plan” when the $35 tier was sitting right there on the shelf. Trust me on this one — name the price tier you want.
- Bring ID and an unlocked phone. Canada requires no special registration for prepaid in most cases, but you’ll need the phone unlocked to use any local SIM.
- Cheaper downtown: mall kiosks, big-box electronics stores, and carrier stores in the city sell the same SIMs at regular prices. I double-checked the October 2026 plan prices on Lucky Mobile’s official plans page — the numbers below match what you’ll pay in town.
Pro tip that saved my trip once: install your eSIM before you leave home, but don’t activate it until you land — most eSIM validity periods start when you first connect to the Canadian network, so buying early doesn’t burn your days.
The best prepaid plans for tourists in 2026

Here are the plans I’d actually shortlist, with prices checked on the carriers’ official pages in October 2026 (items marked ~ are estimates; prices shift with promos):
| Plan | Network | Cost (CAD/month) | Notes |
|---|---|---|---|
| Lucky Mobile prepaid | Bell | ~$25–35 | 5–30 GB with Auto Top-Up bonus; ~$10 SIM; easy in-store activation |
| Chatr Mobile prepaid | Rogers | ~$25–35 | 5–30 GB with Auto-Pay bonus; strong in cities, weaker in rural West |
| Public Mobile | Telus | ~$24–35 | Up to 50 GB 5G on higher tiers; digital-first activation, eSIM available |
| Fizz | Videotron/Rogers | ~$30–35 | Great value (50–100 GB) but mainly Quebec & Ontario |
| Freedom Mobile prepaid | Freedom | ~$34+ | Generous data; coverage thinnest outside big cities |
For eSIMs (bought online before you fly, prices in USD as of October 2026):
- Jetpac — from ~$2/GB for short trips, and the provider that publishes its confirmed Canadian carriers (Bell + Telus). My pick for Rockies road trips — more on why below.
- Airalo — from ~US$4.50/GB, with 30-day plans and unlimited options (~US$75.50/30 days). The one I recommend to first-timers because the app walks you through installation. → Airalo — Canada eSIM plans
- Holafly — unlimited-data plans from ~$20.90 for 3 days; simple if you hate counting gigabytes.
- Saily — from ~$4.50/GB, and the only one of the big eSIM brands offering an optional phone number add-on.
I’ll be honest: for a city trip under two weeks, a Jetpac or Airalo eSIM is almost always cheaper than any physical prepaid. The physical SIM only wins if you need a real Canadian phone number (some bank verifications, long stays) or your phone predates eSIM.
Why your network choice matters outside the cities

In Toronto, Vancouver, or Montreal, every carrier is fine — you will have five bars and the only question is price. But the moment your itinerary leaves the cities — the Banff corridor, the Alberta Rockies road trip, anywhere in northern BC — coverage differences get very real, very fast.
Telus (and by extension Bell, which shares much of Telus’s rural infrastructure) consistently has the strongest rural and mountain-corridor coverage in Western Canada. I learned this the expensive way: on my first Rockies drive I was on a Rogers-network plan, and somewhere between Jasper and the Columbia Icefield my maps app just… gave up. Meanwhile my travel buddy, on a Telus-based eSIM, was cheerfully streaming. I planned that whole drive on a spreadsheet and still got this wrong — so take it from me: for a Rockies or northern trip, pick a Bell/Telus-network option (Lucky Mobile, Public Mobile, or a Jetpac/Airalo eSIM on Bell/Telus) and download offline maps as backup. Do not skip the offline maps.
Will your phone actually work in Canada?

Quick checklist before you buy anything:
- Unlocked: carrier-locked phones reject foreign SIMs and eSIMs. Check with your home carrier — most unlock for free on request.
- Bands: Canada uses LTE bands 2, 4, 5, 7, 12, 13, 17 and 5G on n66/n78 (3500 MHz). Any phone sold in the last ~5 years in North America, Europe, or Asia covers these. I double-checked this against the carriers’ published band lists — if your phone is from 2020 or newer, you’re fine.
- SIM size: nano-SIM for physical cards; most kiosks stock triple-cut SIMs anyway.
- Power: Canada uses the same 120V plugs as the US, so your charger works as-is. One less thing.
- 2FA warning: if you swap to a local SIM, your home number goes dark — and with it, any SMS two-factor codes. Keep your home SIM/eSIM line active for texts (most dual-SIM phones allow this), or switch important accounts to an authenticator app before you fly.
Cost-saving tips: keep the bill small

- Buy the eSIM before you fly. Airport kiosks charge a premium; online prices are the real prices.
- Turn off data roaming on your home line. The single most expensive mistake in travel. On iPhone: Settings → Cellular → turn off Data Roaming for your home line. I check this on every single trip, and I still double-check at the gate.
- Lean on WiFi where it’s free. Hotels, cafés, and most Canadian airports have solid free WiFi — save your gigabytes for the road.
- Download offline maps. Google Maps lets you download entire provinces. Free, and it saved my Jasper afternoon.
- Traveling with a group? One generous data plan plus phone hotspot is cheaper than four small ones. (Pro tip: confirm hotspot/tethering is allowed — Lucky Mobile and most eSIMs allow it, but some unlimited eSIM plans throttle hotspot speeds.)
- Crossing into the US? Public Mobile’s Canada-US-Mexico plans and Airalo’s North America regional eSIM cover both countries — worth it if Niagara Falls turns into a Buffalo day trip. See our 1-day Niagara Falls itinerary for that classic combo.
Connectivity is one of those boring details that quietly decides whether your trip runs smoothly or spends three days buffering. Get the eSIM installed before you fly (or the cheap prepaid tier on day one), download your offline maps, and forget about it for the rest of the trip. You’ve got this.
FAQs about Canada SIM cards for tourists
Is an eSIM or a physical SIM better for visiting Canada?
For most tourists in 2026, an eSIM: it’s cheaper (~US$2–8/GB vs ~$35–45 CAD for a prepaid plan plus ~$10 SIM), installs in minutes on airport WiFi, and connects the moment you land. A physical SIM only wins if your phone doesn’t support eSIM or you need a real Canadian phone number.
Can I buy a SIM card at Toronto Pearson or Vancouver airports?
Yes — both YYZ and YVR have carrier kiosks and electronics stores in arrivals selling prepaid SIMs from Rogers, Bell, Telus, and the flanker brands. Expect to pay a 10–20% premium over downtown prices, so for the best deal buy an eSIM online before you fly or shop at a mall kiosk in the city.
How much data do I need for a week in Canada?
For maps, messaging, social media, and photos, budget roughly 1–2 GB per day — so 10–15 GB for a week is comfortable. I used about 1.5 GB a day on a busy sightseeing week. Heavy video streaming or hotspot use pushes that higher; an “unlimited” eSIM (usually with a generous daily high-speed allowance) removes the guesswork.
Will my phone work on Canadian networks?
Almost certainly, if it’s unlocked and from the last ~5 years: Canada uses standard LTE bands (2, 4, 5, 7, 12, 13, 17) and 5G on n66/n78. Check eSIM compatibility for digital plans (most iPhones since the XS and recent Samsung/Google phones qualify) and confirm your phone is carrier-unlocked before you leave home.
Do I need a Canadian phone number, or is data enough?
Data alone covers 95% of tourist needs — maps, WhatsApp, ride-hailing, and restaurant bookings all work on data. You only need a real Canadian number for SMS verifications with some banks or for long stays. Physical prepaid plans (Lucky, Chatr, Public) include one; most travel eSIMs are data-only.
Can I use the same SIM or eSIM in the US?
Some plans, yes: Public Mobile’s Canada-US-Mexico tiers and regional eSIMs like Airalo’s North America plan work in both countries. Standard Canadian prepaid plans (Lucky, Chatr) do not roam in the US without expensive add-ons — check before you cross the border.
1 comment