
Last updated: October 3, 2026
The short answer
- Master the 3-layer system: a merino wool base layer, a fleece or down mid-layer, and a windproof/waterproof outer shell will keep you warmer than one giant coat — and let you adjust as temperatures swing through the day.
- Match your gear to your region: waterproof shells for rainy Vancouver, a TEI 3–4 rated parka for Toronto and Montreal, and expedition-grade gear (rated to -50°C) for the Prairies and aurora-watching in the North.
- Protect the parts that freeze first: insulated waterproof boots (200g+ of insulation), mittens over gloves, and a balaclava or neck gaiter. Frostbite starts at your fingers, toes, ears, and nose — and Canada.ca’s extreme-cold guidance names exactly those four.
Here’s the thing about Canadian winter: it’s not actually one winter. My first February in Montreal, I walked out of a downtown hotel in what I genuinely thought was a serious winter coat, and the wind coming off the St. Lawrence River rewrote my definition of “serious” in about four minutes. I bought a better parka that afternoon — and then, two months later in Vancouver, nearly roasted in that same parka during a rainy 2°C afternoon. That is the entire lesson of this guide: there is no universal Canada winter packing list. There is only the right gear for your destination, your activities, and the exact flavor of cold waiting for you.
So this is my complete 2026 winter packing guide, built the way I build every itinerary — meticulously, from experience, with the prices and temperature ranges I actually verified. Trust me on this one: pack right, and a Canadian winter is the most fun you’ll have all year. You’ve got this.
Canada’s winter is not one winter: know your zone
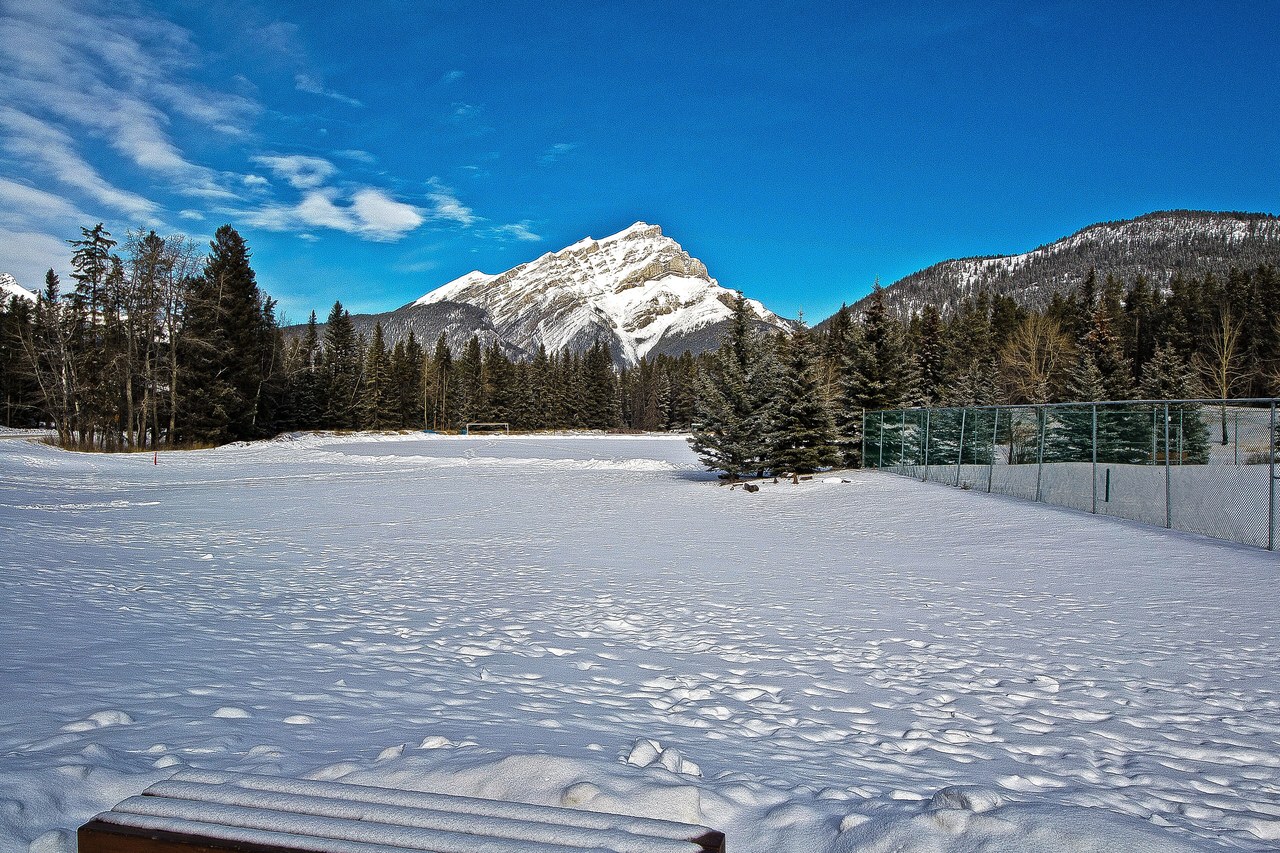
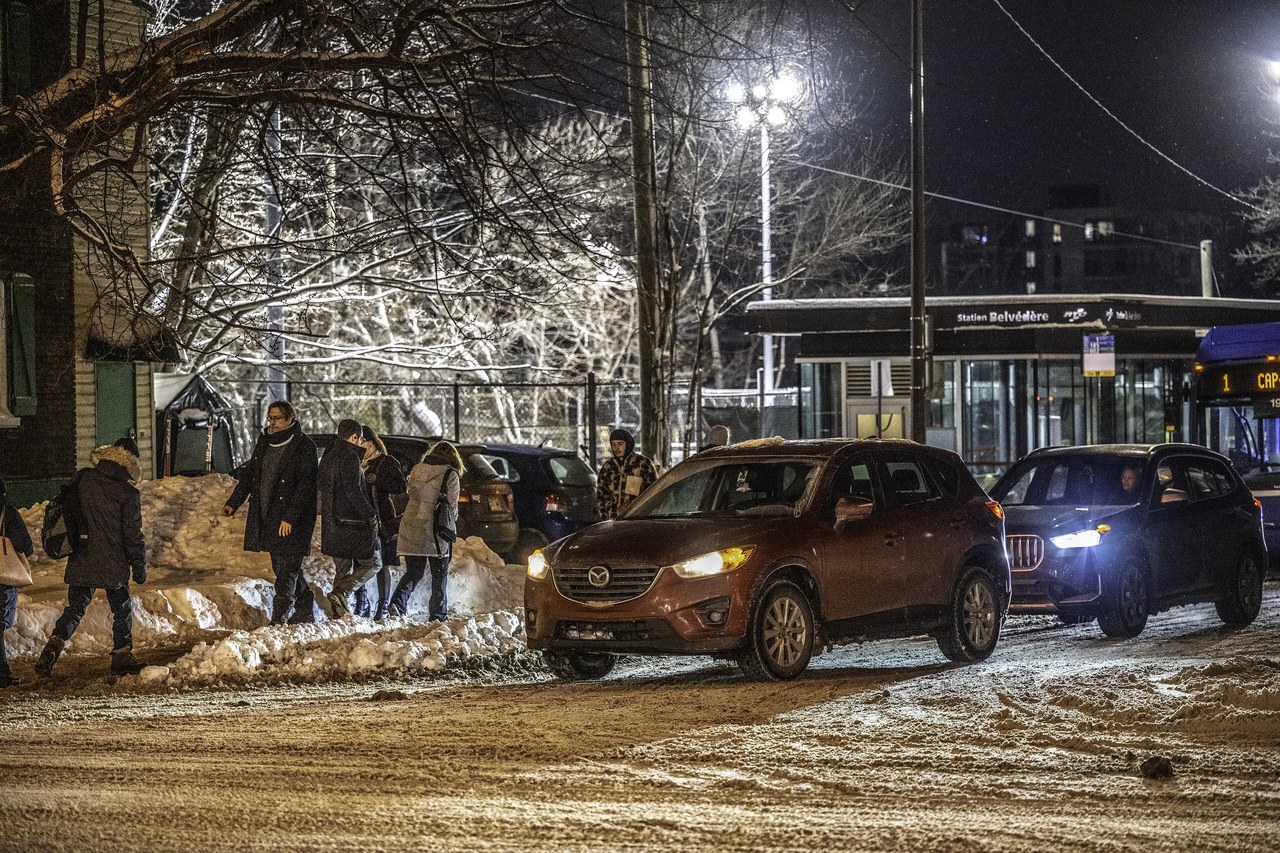
Canada is enormous — the second-largest country on the planet — and “winter” in Vancouver has almost nothing in common with “winter” in Winnipeg. Before you buy a single thing, figure out which of these four winters you’re walking into.
The wet cold of the coasts: Vancouver and Halifax
On the BC coast and in the Maritimes, temperatures rarely drop far below -5°C, but the damp air sinks straight into your bones. Rain is a bigger threat here than deep snow, so waterproofing matters more than heavy insulation. A thick down parka will soak through in a coastal downpour and stop keeping you warm (wet down is basically an expensive sponge). A barista in a Halifax café told me the local secret isn’t a thicker coat — it’s a better shell. Pack a quality waterproof shell (Gore-Tex or similar), waterproof boots that can handle slush and deep puddles, and a rain-friendly mid-layer like fleece instead of down.
The dry cold of the Prairies: Calgary, Winnipeg, and Edmonton
The Prairies are the real deal: temperatures regularly crash to -30°C or -40°C, and the wind turns that into something genuinely dangerous. Canada.ca’s extreme-cold guidance specifically warns that exposed skin is at risk of frostbite in under 10 minutes at -30°C — no exceptions. Here, a sub-zero-rated parka isn’t a fashion statement, it’s safety equipment. You want wind-proof everything: a wind-blocking shell, mittens (not gloves), a balaclava, and boots rated to -40°C or colder. Every inch of skin covered, no exceptions.
Central Canada’s slush-and-wind winters: Toronto and Montreal
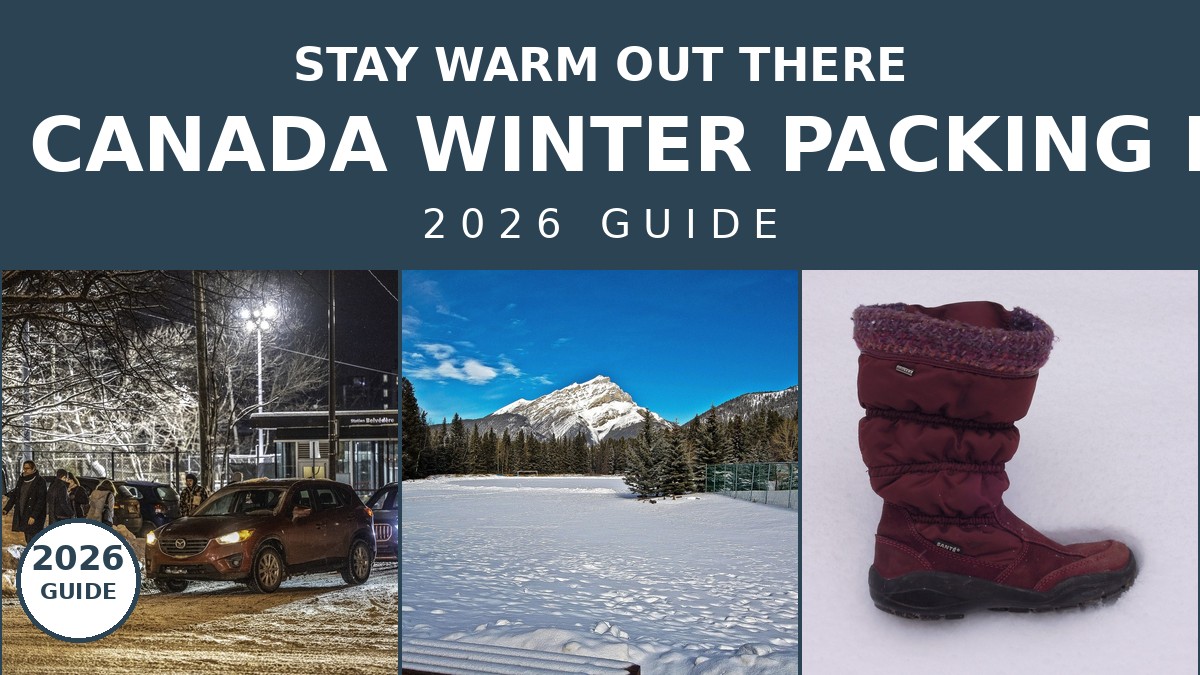
Toronto and Montreal give you a bit of everything: heavy snow, biting wind, and the wind-tunnel effect between downtown skyscrapers. These cities are famous for slush — that lovely brown mix of melting snow, salt, and dirt. Your boots need to be waterproof and tough enough to survive salt (salt will stain and degrade leather — fair warning). You’ll also be moving between freezing outdoor events and sweltering subway stations, so pack layers you can unzip and shed fast. Montreal is also festival city in winter, so gear that looks decent in photos while actually working is worth the search.
The far North and aurora country: Yukon, NWT, Nunavut
Heading to Whitehorse or Yellowknife for the northern lights? You’re standing still in the dark for hours at -40°C — the ultimate test of your gear. You need expedition-grade insulation and boots rated to -50°C. Pro tip I wish someone had given me before my first aurora trip: many northern tour operators rent full winter gear kits, which is usually smarter (and cheaper) than buying an expedition parka for a four-day trip. Bring your own high-quality base layers for hygiene and comfort, and rent the big outer pieces.
The 3-layer system that actually works
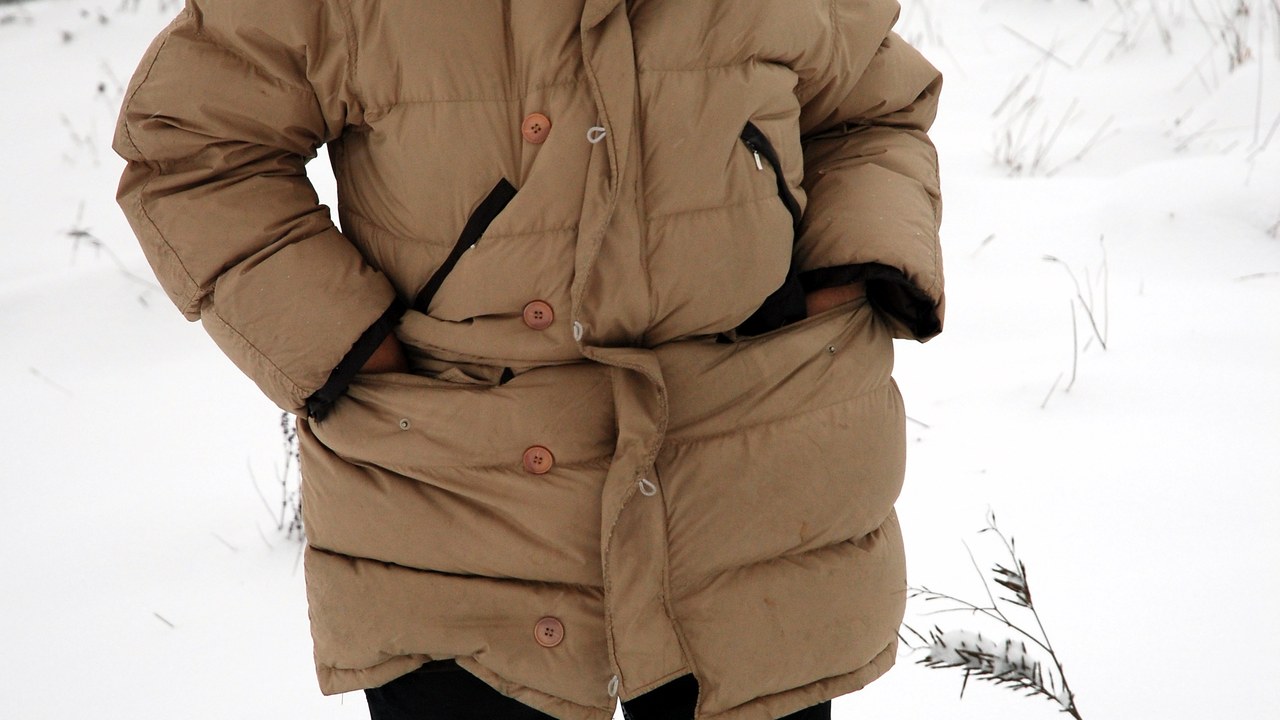
The secret to staying warm in Canada isn’t buying the single thickest coat in the store. Locals and explorers rely on a three-layer system that traps air between fabrics, and air is the actual insulator. I’ll be honest: I resisted this for years because it sounded fussy. Then I tried it on one -25°C day in Edmonton and never went back. Here’s the breakdown:
1. Base layer: merino wool is the gold standard
This sits against your skin, so get it right. Merino wool is the clear winner over synthetics in 2026: it doesn’t hold onto odors the way polyester does, it stays warm even when slightly damp with sweat, and it regulates temperature so you don’t overheat the moment you walk into a heated building (do not skip this consideration — Canadian indoor heating is aggressive). For general travel, a mid-weight ~200gsm merino top and bottom is perfect. If you’ll be standing around outside for long stretches (aurora watching, I’m looking at you), go heavyweight (~250–300gsm).
2. Mid-layer: trap the heat
Your mid-layer’s job is to hold the warmth your body is already making. The three great options: high-loft fleece, a thick wool sweater, or a light down “puffer” vest. Down vests are wildly popular right now because they’re incredibly warm and pack down to almost nothing. If you’re going to be active — skating, snowshoeing, cross-country skiing — pick breathable fleece instead; it vents moisture better than down, so you avoid that cold-and-clammy feeling. Whichever you choose, make sure you can move comfortably in it.
3. Outer shell: your shield
For high-energy activities, a breathable waterproof shell (Gore-Tex is the gold standard) is what you want. For casual sightseeing, a heavy insulated parka often does the mid-and-outer job in one. When shell shopping, look for pit zips — vents under the arms that dump heat fast without forcing you to open your jacket in the wind. I timed it once: the difference between overheating and comfort on a sunny winter hike is literally one zip.
Adjust by temperature
Here’s my cheat sheet — I keep a version of this taped inside my suitcase lid:
| Temperature | What I wear |
|---|---|
| -5°C (Vancouver coast day) | Lightweight merino base, fleece mid-layer, waterproof shell; waterproof boots, toque, light gloves |
| -15°C (Toronto/Montreal day) | Mid-weight merino base, down vest or fleece, insulated parka; insulated waterproof boots, mittens, neck gaiter |
| -30°C (Prairies/Arctic) | Heavyweight merino base, thick sweater or fleece, windproof expedition parka; 400g-insulated boots, liner gloves + mittens, balaclava, toe warmers |
The golden rule: it’s always easier to unzip a layer than to conjure up one you didn’t pack. When in doubt, bring the extra layer.
Parka vs. puffer: your biggest purchase
People use these terms interchangeably, but they aren’t the same thing. A puffer is usually shorter and lighter — great for spring and fall, but often lacking the length and wind-blocking power for a real Canadian winter. A parka is longer (usually mid-thigh), built with tougher fabric, and that extra length keeps your core and upper legs dramatically warmer. Unless you’re staying strictly on the BC coast, a parka is the better choice. Worth every penny — a great parka lasts a decade.
When comparing parkas, look for Canada Goose’s Thermal Experience Index (TEI) — I double-checked the current ranges on Canada Goose’s official TEI page before writing this, since they define the scale: TEI 3 parkas are rated for -10°C to -20°C (your everyday Toronto/Montreal winter), TEI 4 for -15°C to -25°C, and TEI 5 for -30°C and below (expedition territory). Even if you don’t buy Canada Goose, the TEI gives you a useful mental ruler for any brand.
Speaking of brands: Canada Goose is still the big Canadian name, but Arc’teryx (out of North Vancouver — I checked, still proudly BC) makes some of the most advanced, least-bulky waterproof parkas out there. And the sustainable corner of the market is genuinely exciting in 2026: Wuxly, a Toronto brand, builds animal-free coats from recycled materials that are just as warm as traditional down. If you’re buying, look for recycled-down or vegan insulation and PFC-free waterproofing — the plant-based coatings now perform just as well as the old chemical ones.
Pro tip on buying vs. renting: if this is a one-time trip, dropping ~$1,000+ on a parka is a lot. Full winter gear kits are rentable in most major Canadian cities now — top-tier brands, a fraction of the purchase price, and the jacket doesn’t rot in your closet for the next eleven months. For a one-off aurora trip, renting is the move. If you’ll be back (or you live somewhere cold), invest in “buy it for life” quality: timeless styles, lifetime warranties, repair services instead of replacements.
Boots: do not skimp here
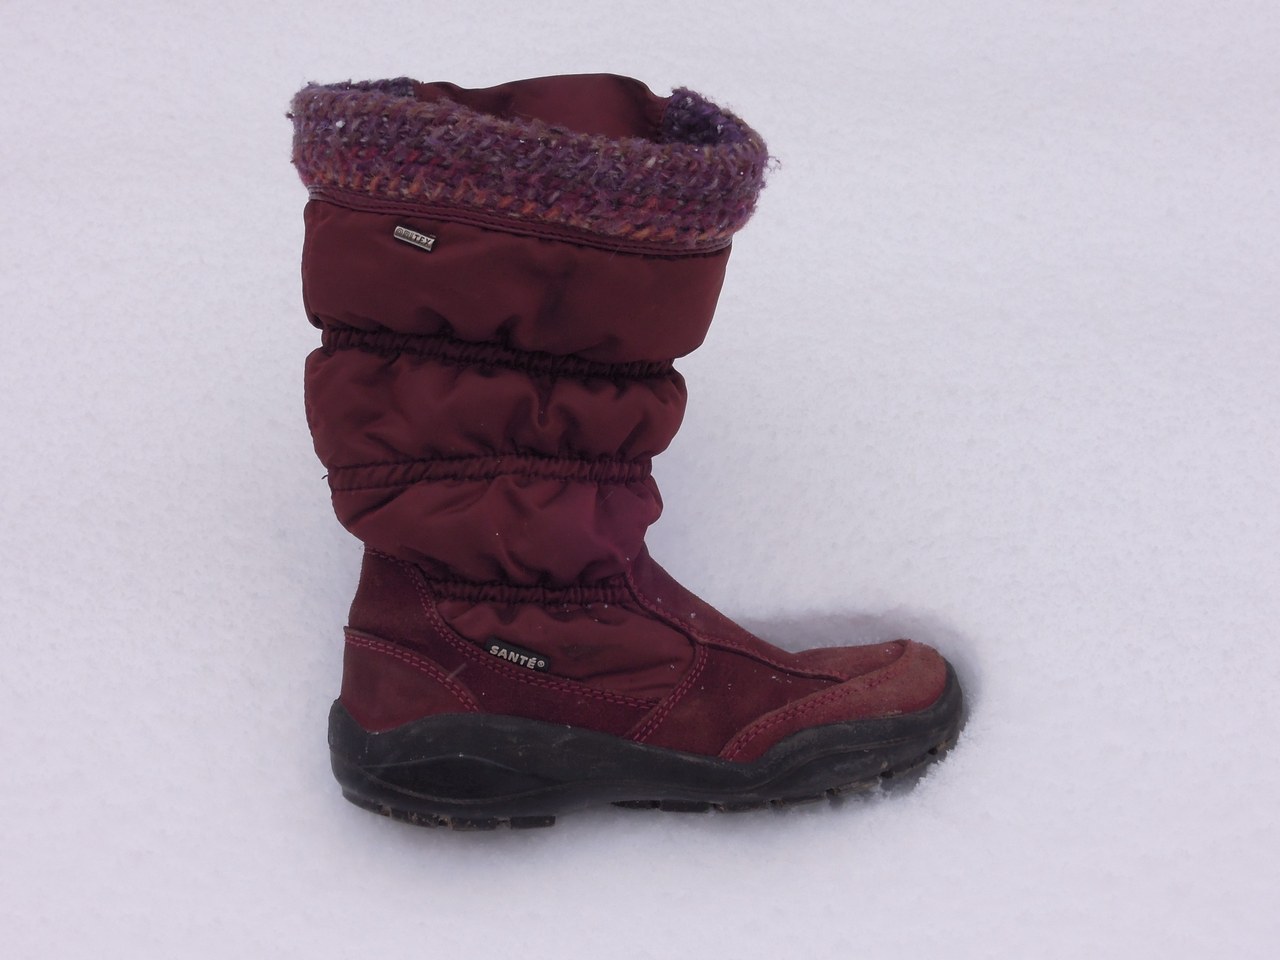
If your feet get cold, you’re miserable — full stop. Here’s my boot checklist:
- Insulation: look for a grams-of-Thinsulate rating. You want at least 200g for a Canadian winter; 400g is much better if you’re heading north or standing around outdoors.
- Waterproofing: a waterproof membrane (Gore-Tex or similar) or properly treated leather. Wet feet in freezing weather are a fast track to frostbite.
- Temperature rating: always check the rating on the box — and treat it as optimistic. If a boot says “rated to -25°C,” assume comfort around -15°C.
- Traction: Canadian sidewalks turn into skating rinks overnight thanks to the freeze-thaw cycle, and black ice is invisible. Aggressive tread helps, but many locals (me included, now) carry removable ice cleats — rubber straps with metal spikes that stretch over your boots and pop off into your pocket indoors. They’re ~$30–50 and genuinely a game-changer on hilly, icy streets like Montreal’s or St. John’s.
And the sneaker talk: it’s tempting to wear sneakers for “just a quick walk” in January. Don’t. Sneakers have zero insulation, their rubber soles harden in the cold and turn slippery, and road salt leaves permanent white stains on everything it touches. Do what the locals do: carry your indoor shoes in a bag and change when you arrive. You’ll see this in offices and schools across the country all winter long.
The parts that freeze first: accessories
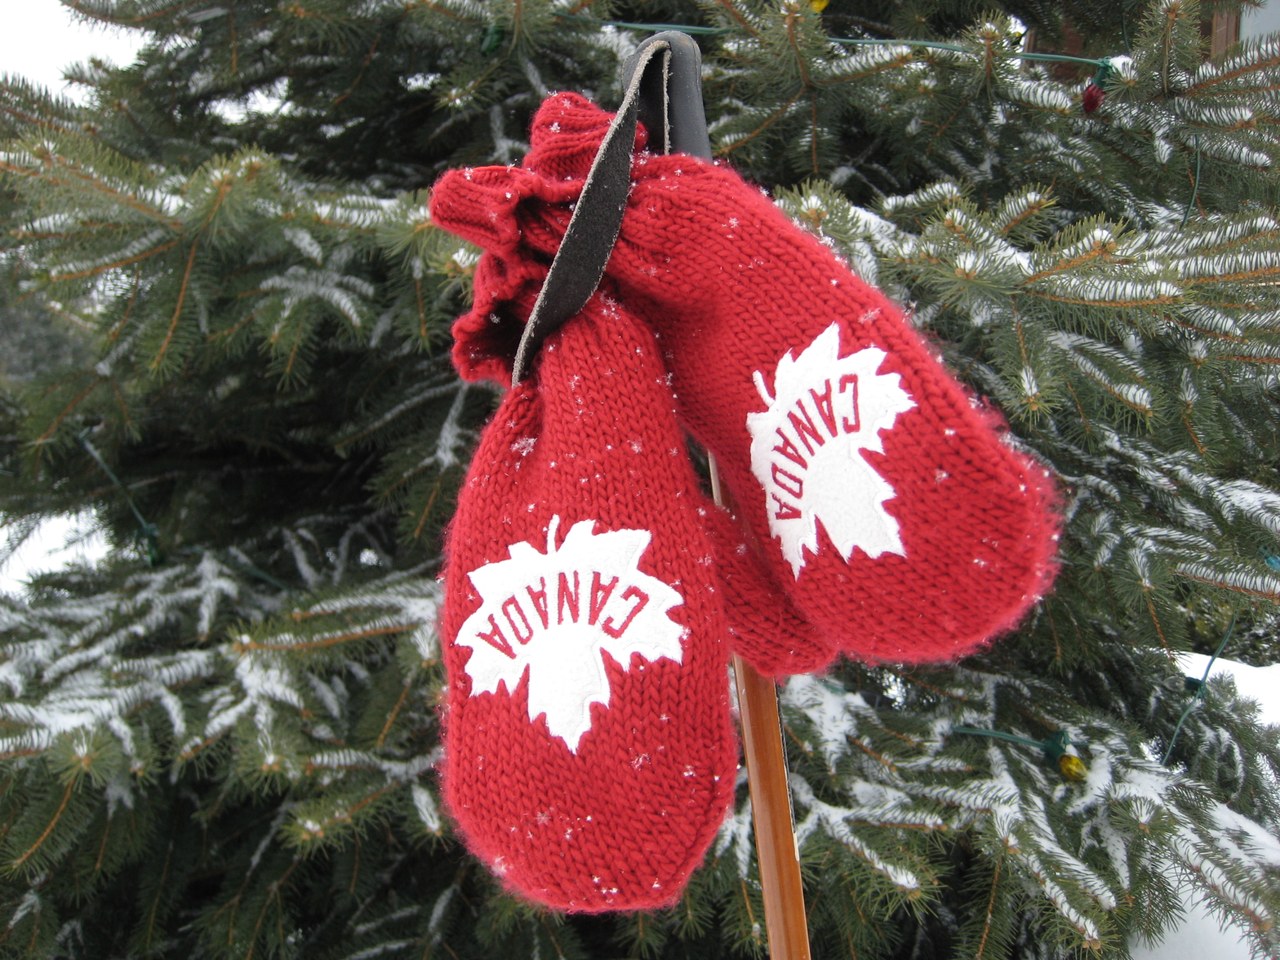
A great parka won’t save you if your ears and fingers are freezing. In Canada, accessories are survival gear, not decoration:
- Head: it’s a myth that you lose 80% of your heat through your head — but you lose enough to matter. Get a windproof beanie with a fleece lining around the ears. For truly cold days, a trapper hat (thermal aviator hat with ear flaps that buckle under your chin) is king, and the faux-fur versions actually handle wet snow better than real fur.
- Hands: the winning system is a thin liner glove inside a heavy mitten. Mittens are always warmer because your fingers share heat instead of sitting in their own frozen pockets. I own four pairs of gloves because I kept buying touchscreen-compatible liners that stopped working after a week — buy the liners from a reputable brand and test them in the store. At -30°C, even 30 seconds of bare-skin exposure is painful.
- Neck and face: in a Prairie wind or a Montreal snowstorm, a scarf isn’t enough. You need a neck gaiter or balaclava — merino or moisture-wicking “buff” fabrics that don’t soak up your breath and freeze.
- Heated gear: battery-powered vests, socks, and gloves have gotten much better and cheaper. They’re fantastic if you run cold or have poor circulation. Just treat them as a bonus, not a replacement for proper layers — electronics can and do fail in the cold, which brings me to…
The stuff people forget: skin, sun, and gadgets
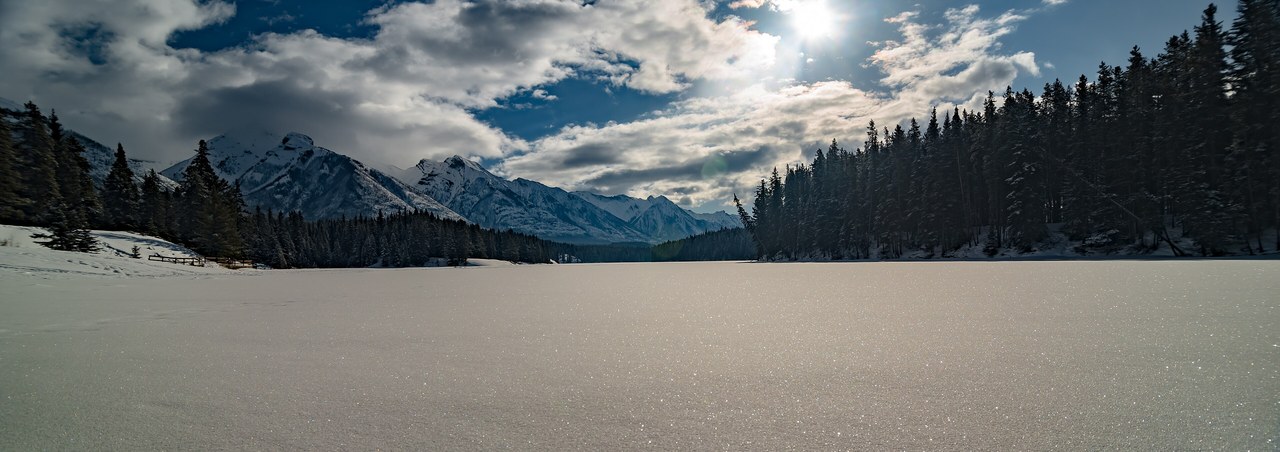
Canadian winter air is brutally dry — outside and in heated buildings. This is the section I wish someone had handed me before my first winter trip:
- Sunscreen (yes, really): it surprises everyone, but you can get a nasty sunburn in February. Snow reflects a huge share of UV rays, so you’re getting hit from above and below. Canada’s own winter-safety guidance says to use sunscreen even on cloudy days. Wear it on your face every morning.
- Moisturizer: bring a heavy, oil-based moisturizer. Moving between freezing outdoors and dry indoor heating will flake your skin fast if you don’t stay ahead of it.
- Lip balm: cracked, bleeding lips are the classic newcomer mistake. Look for beeswax, shea butter, or petrolatum; apply before going out and before bed. Skip flavored balms — licking your lips dries them out faster. Pro tip: keep a spare lip balm in every jacket pocket. I do this and it has never once failed me.
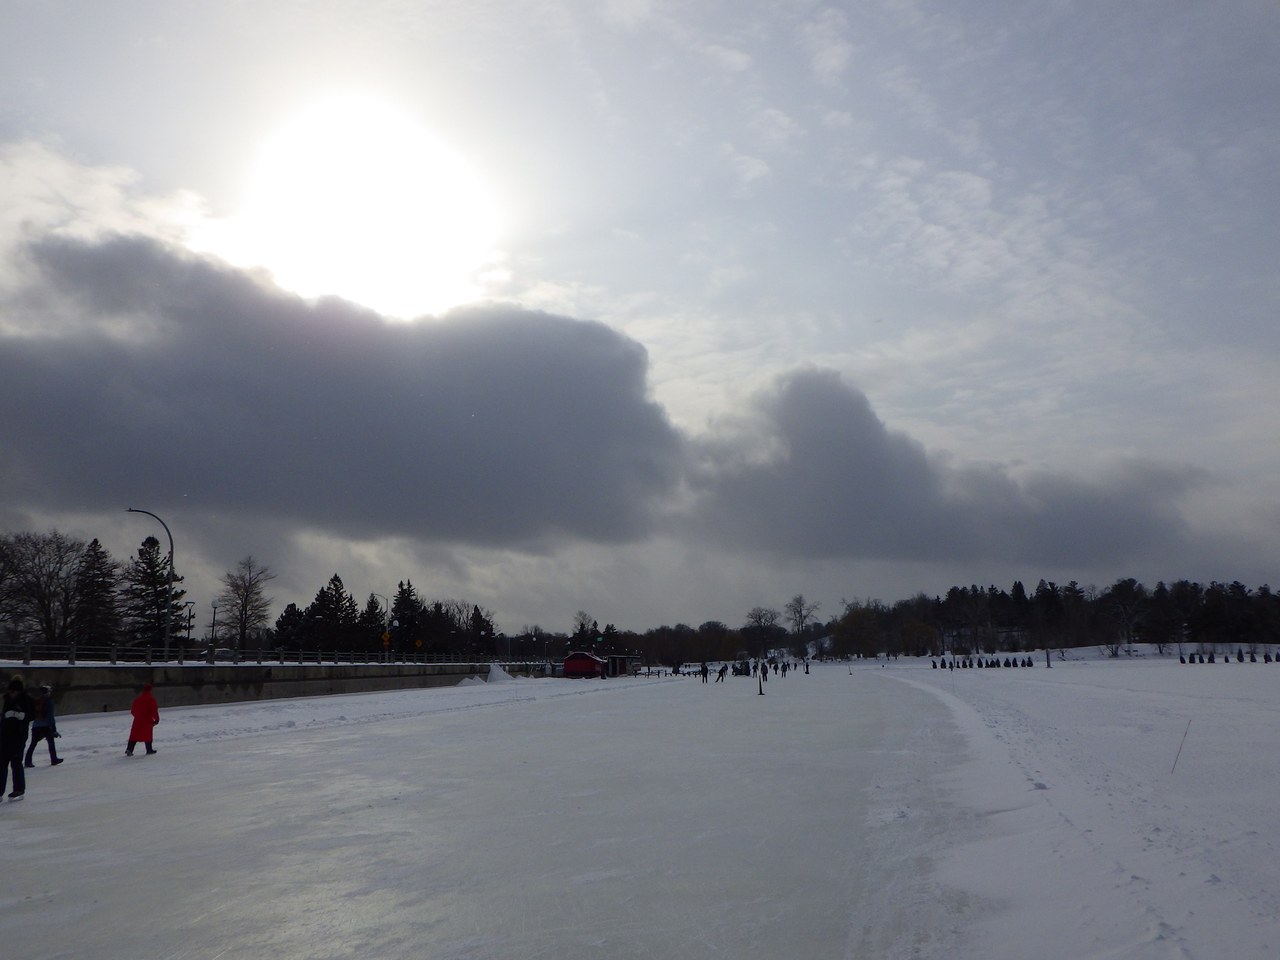
- Your phone: batteries hate the cold. Below about -10°C, a full phone battery can die in minutes — I watched mine go from 60% to dead on the Rideau Canal while trying to take one photo. Keep your phone in an inside pocket against your body heat, not in an outer pocket or bag. Insulated “thermal pouches” are the 2026 version of this wisdom. If your phone dies from cold, don’t force it back on — let it warm to room temperature first.
- Emergency kit + hydration: even in the city, toss chemical hand warmers, a power bank, and a snack in your day bag — it’s a lifesaver when a bus is late or you take a wrong turn. Drink water even when you aren’t thirsty; you lose a shocking amount of moisture just breathing dry air. An insulated water bottle that won’t freeze shut is a smart buy.
Pack by activity, not by generic list
A shopping trip in Toronto and a week in the Rockies are different planets. Tailor your bag to what you’re actually doing:
The Rockies: Banff and Jasper

A Banff/Jasper winter road trip is bucket-list material, but you’ll be hopping in and out of the car for photos constantly — so prioritize easy-on, easy-off layers. Bring sturdy hiking boots with excellent grip for icy trails around Lake Louise, binoculars for elk and bighorn sheep, and — this one’s non-negotiable — keep a heavy blanket, spare gloves, and your emergency kit in the car at all times. Transport Canada’s winter-driving checklist recommends exactly this kind of trunk kit (blankets, extra socks and gloves, hand warmers, snacks, water), and I built mine from their list. Planning the route? See our 2-day Banff itinerary.
Aurora hunting in the North
This is the ultimate gear test: standing still in the dark for hours at -40°C. You need thick, lofty insulation (standing still means your body isn’t generating heat), adhesive toe warmers for your socks, and expedition-rated boots. Since you’re not moving, your toes freeze first — every serious aurora hunter I met in Yellowknife had toe warmers, so do as they do. A thermos of something hot is, in my opinion, mandatory equipment. And seriously consider renting the expedition parka rather than buying one.
Ski and snowboard days
If you’re hitting Whistler or Mont-Tremblant, your list needs technical gear: moisture-wicking base layers built for exercise (never cotton — it traps sweat and turns you into an icicle on the chairlift), goggles with interchangeable lenses, a helmet-compatible balaclava or neck tube, padded ski socks that reach above your boot line, and waterproof ski pants with reinforced cuffs. Planning a ski trip? Our 3-day Whistler itinerary covers the whole mountain experience.
Urban sightseeing and winter festivals
For the Quebec Winter Carnival, Ottawa’s Winterlude, or Toronto’s light festivals, you want fashion and function — you’ll look good in photos but stay warm through a three-hour evening walk. A stylish wool coat works only if you’re hiding a thin down vest underneath it (trust me on this one). Wear layers that are easy to carry, and bring a backpack rather than a shoulder bag for stashing the layers you shed indoors. Our 3-day Quebec City itinerary and 1-day Ottawa itinerary are built for exactly these winter-city trips.
What does a full winter kit cost?
Sample one-time gear budget per person (all ~ estimates, CAD; prices checked October 2026 — confirm before you buy):
| Item | ~Cost (CAD) |
|---|---|
| Winter parka (TEI 3, good brand) | ~$300–1,500 |
| Insulated waterproof boots (200–400g) | ~$150–300 |
| Merino base layer set (top + bottom) | ~$80–150 |
| Mid-layer (fleece or down vest) | ~$60–150 |
| Toque, mittens, neck gaiter, balaclava | ~$80–150 |
| Removable ice cleats | ~$30–50 |
| Hand/toe warmers (multi-pack) | ~$10–20 |
| Insulated water bottle | ~$30–50 |
| Total (mid-range kit) | ~$740–2,370 |
The range is wide because the parka is doing most of the work — a $300 parka from a good mid-range brand honestly handles a Toronto winter fine, while expedition-grade runs four figures. Remember the rental option for one-off trips: a full kit often rents for ~$50–100/day in major cities, which beats a $1,500 purchase you’ll wear twice.
FAQs about packing for a Canadian winter
What is the 3-layer system for winter?
The 3-layer system is a merino wool base layer (against your skin, wicks moisture), an insulating mid-layer (fleece, wool sweater, or down vest — traps heat), and a windproof/waterproof outer shell or parka (blocks wind and precipitation). It keeps you warmer than one thick coat because trapped air between layers is the real insulator, and you can add or remove layers as temperatures change.
What temperature rating do I need for a winter parka in Canada?
Match the parka to your destination: a TEI 3 rating (-10°C to -20°C, per Canada Goose’s official scale) covers most Toronto and Montreal winters; TEI 4 (-15°C to -25°C) suits colder days and the Prairies; TEI 5 (-30°C and below) is for expedition conditions like aurora watching in Yellowknife. For the rainy BC coast, prioritize a waterproof shell over maximum insulation.
Are mittens really warmer than gloves?
Yes — mittens are always warmer because your fingers share body heat instead of sitting isolated in separate finger pockets. The best setup is a thin touchscreen-compatible liner glove inside a heavy insulated mitten: you get phone access without exposing bare skin, which matters because at -30°C even brief exposure is painful.
What boots do I need for a Canadian winter?
Look for insulated, waterproof boots with at least 200g of Thinsulate-style insulation (400g for the North or long outdoor days), a waterproof membrane, and aggressive tread. Treat the temperature rating on the box as optimistic. Add removable ice cleats (~$30–50) for black-ice days, and skip sneakers entirely — they have no insulation, their soles harden in the cold, and road salt stains them permanently.
Do I need special gear to see the northern lights?
Yes — aurora watching means standing still in the dark for hours, often at -40°C, which is far more demanding than walking around a city. You need expedition-grade insulation, boots rated to -50°C, toe warmers, and a thermos of something hot. Most northern tour operators rent full winter gear kits, which is usually the smartest option for a short trip; bring your own base layers and rent the rest.
Should I buy or rent winter gear for one trip to Canada?
For a one-time trip, renting is usually the smarter move: full winter gear kits are available in most major Canadian cities for roughly ~$50–100/day, giving you top-tier brands for a fraction of the purchase price. If you’ll travel to cold places regularly, invest in “buy it for life” quality — a good parka and boots last a decade, and many brands now offer lifetime warranties and repair services.
Keep exploring
- The Ultimate 2 Days in Banff Itinerary: 2026 Travel Guide
- The Ultimate 3 Days in Whistler Itinerary for 2026
- The Perfect 3 Days in Quebec City Itinerary for 2026
- The Ultimate 1 Day in Ottawa Itinerary for 2026
- Montreal on a Budget: The Ultimate 2026 Travel Guide